Pages

6.19.2013

SoftChalk

I've been meaning to learn about SoftChalk this year, but the workshops offered this past term or two didn't sync very well with my schedule. So I was grateful when Alice Warner set up a SoftChalk workshop during finals week - thank you, Alice!

Meredith Keene-Wilson did a great job of introducing SoftChalk and helping us put together a couple of activities that we'd be likely to use on our Moodle sites. I appreciate SoftChalk for its simple interface - I like programs that keep the screen pretty clean so that you can focus on what you're building.

I think that I'll be using SoftChalk quite a bit in the future to create online content for my students. In addition to teaching content, a big focus of my classes is getting students accustomed to working online so that they'll be comfortable with online testing, as all of my students are preparing for either the Accuplacer, math placement exam, or GED - all of which are now or will soon be computer-based. Though there are some good resources out there for computer-based practice in these areas, I often need or want to create my own materials, and Moodle's tools for this are pretty limited. Especially for the new GED format, it will be valuable to be able to replicate some of the question types.

As far as specific content goes, I've already thought of several ways I could use Softchalk. In my reading class, I've been focusing on vocabulary development, and there are several activities (matching quizzes, multiple choice exercises, the crossword puzzle maker) that could support this. The identify activity could be used to help students use a visual modality to study terms and definitions or connotations.

I really like the HotSpot activity and have several ideas for using it. For writing, students could be given an image of a sentence and asked to identify parts of speech. In reading, students could be given an image of a paragraph and asked to click on the topic sentence. In geometry, students could be given a diagram and asked to click on various parts of a figure. In algebra, an image of an equation could be used to test student knowledge of correct terminology for different parts of the equation (variable, exponent, coefficient, etc.).

Another feature that I really like is the TextPopper. My students often have widely varying backgrounds, and I like the idea of being able to add supplementary information to text lessons without having to actually include that information as part of the content. This could also really help out ELL students, as you could use TextPoppers to define difficult words or idioms.

I'm looking forward to using this tool to enhance my Moodle sites and encourage online student learning.

Digital Badges


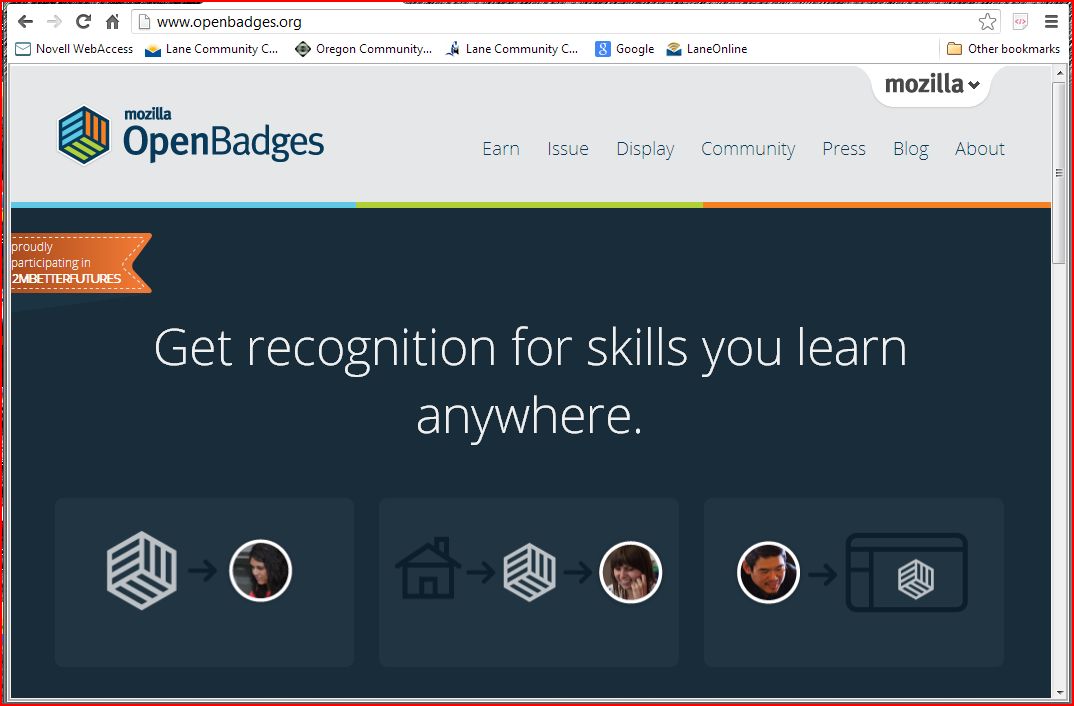
As a young Girl Scout, I was a fervent badge-earner, so when I saw the listing for the Badges in Education workshop during Spring Inservice, I knew where I'd be spending an hour. For those of you who didn't attend the workshop or don't know about digital badges, today's badges don't get sewn on a sash - they are digital icons that students can earn in recognition of various achievements.

Digital badges are an example of the gamification of education: the application of gaming principles to educational settings. If you've ever played a video game in which you were rewarded with a new life, a special power or tool, or some other kind of recognition or bonus for earning a certain level of points or reaching some other achievement, you'll understand how digital badges work. Just as many of us will repeat levels of Angry Birds in order to achieve the full three stars on each level, students are motivated to complete lessons or quizzes in order to earn digital badges that they can post and share on course management or social media sites. (For more on gamification, see Gabe Zichermann's TED Talk ).


 So how are digital badges any different than sticking a gold star or stamping a smiley face on a student's paper (also surprisingly good motivators, I've found)? Well, because they are digital, they can be more widely shared. Sure, a paper with a sticker or stamp can be shown to friends and parents, or hung up on the fridge, but that's about as far as most students would choose to share them. Digital badges, however, are portable - they can be shared on special badge sites, such as Mozilla Backpack, on social media sites like Facebook or Twitter, or on a personal web page or blog. As a result, students can show off their badges to a larger audience for an indefinite period of time.

Perhaps the key difference between a sticker and a digital badge is that the badge is embedded with metadata that authenticates the issuer, the requirements for earning the badge, and other information. This gives the badge a legitimacy and use beyond the original issuer and recipient. A student could use badges as evidence of accomplishments in a portfolio or resume, for example. In my department, where we do not issue grades or credit, badges could serve as evidence of successful completion of units, classes, or skill levels.

Mozilla has a good FAQ with more information on digital badges here.


Following the workshop, I created a Mozilla Backpack account and completed my first badge - the Web Navigator badge, which required that I practice some simple web navigation tools. I then opened an account with Credly, a site where you can build and issue your own badges. Credly has some nice customizable badge templates, or you can start from scratch with your design. I chose to start with a template, and it took me about ten minutes to design a badge that I plan to use for completers of my Math 4 class. The design process was very straight-forward; the hardest part was deciding what information to include in the badge description. This
probably would have been easier had I looked at the information attached to other badges before I started mine, but I just jumped in with both feet. Fortunately, it's pretty easy to edit badge information.

Students don't have to be members for you to issue them credit - if they are, you can easily use their member names to send them credit, but you can also send them a badge via email. You can also upload a csv file to send a badge to a whole group. When you issue credit, there is also an option to add a testimonial about the student's achievements and a link to add evidence from a web page that supports the student's accomplishment.

I plan to use badges in my courses next term. To begin with, I plan to offer badges for completion of units and the course - and I imagine I'll structure the badges so that students must earn the full set of unit badges in order to earn the course completion badge. In the future, I can see breaking this down even further - giving concept badges or project badges, which lead to unit badges, which lead to course badges - but for now I plan to start with a simple structure. I understand that the newest version of Moodle will incorporate badge display, which will make it even easier to issue and use badges in our classes.


6.11.2013

Using Merlot

I had used Merlot to search for OER materials, but prior to the CoLab, I had never tried to contribute to Merlot. I'm pleased to say that my first experience with uploading material (my textbook preview Prezi) was a success.

Setting up the member account was easy and the confirmation email did not take long to reach my inbox. Contributing material took several steps, but the process was not lengthy. The hardest part was deciding on an attribution for my presentation, but that is an ongoing internal debate and a topic for another post.

The main thing that I don't like about Merlot is it's interface. I find their website to be incredibly busy and dense. The scrolling text at the top of the home page is distracting, and there are too many links, tabs, etc. The iPad app is not much better - it also is very text-heavy, with almost no graphics. I'm glad to see that a website redesign is about to be released.

I also created a Connexions account, but I haven't tried to upload anything there yet. Stay tuned...

Reading Survey with Google Forms


One of my biggest challenges when it comes to integrating technology into my classes is keeping my digital life streamlined. Always in the back of my mind is a concern about introducing too many applications / passwords / websites / etc. into my own digital workflow; I try to be especially mindful of what I ask of my students. This is difficult for me, as there are so many cool resources out there, and I want to try them all! Ideally, I'd like to have one online "hub" that connects multiple resources behind the scenes - thankfully, Moodle works pretty well for this, and I've been learning more about connecting and integrating resources into Moodle.

One way in which I've streamlined my digital world is by trying out different digital resources in different ways with different classes, and seeing which ones "stick" - those that are useful and user-friendly enough to support content rather than overwhelm content are those that I continue to use. The other way in which I've streamlined recently is to switch over to the Google family of applications rather than using the Office Suite, Dropbox, and a host of other applications. I don't love everything about the Google world, but the convenience and connectness outweigh the downsides for me. Most recently, I've been experimenting with Google Forms as a platform for surveys. 

In the past I've used the free version of Survey Monkey, which is easy to use but limits surveys to 10 questions. After watching Barbi's video post on using Google Forms for quizzes, I decided to create a survey using this platform. For this first form, I decided to create a reading survey that I can use with my Core College Reading students at the beginning of the term. Previously, I've given a similar paper-and-pencil survey in class, but I wanted to digitize this for several reasons. First, I wanted an activity that would help introduce students to Moodle. Second, I wanted an easy way to compile and display the responses to the survey. Creating an online form accomplished both of these tasks. 

Creating the form went very quickly. The Google Forms interface is intuitive and easy to follow. I found that the tools were adequate for what I wanted to do, though I did wish for a larger response box for "other" responses. (I think it's easier for students to type a longer response when they can see all of their text on screen, as opposed to having it scroll through the box.) The most time-consuming part of the process was typing the questions and options. 

My favorite thing about Google forms is that I can revise and update my form whenever I like without having to upload another document or change the link in Moodle. I will definitely make use of this tool again in the future.